Have a news story for Floorscape? Get in touch with us to submit editor@floorscape.org.uk
Have a news story for Floorscape? Get in touch with us to submit editor@floorscape.org.uk
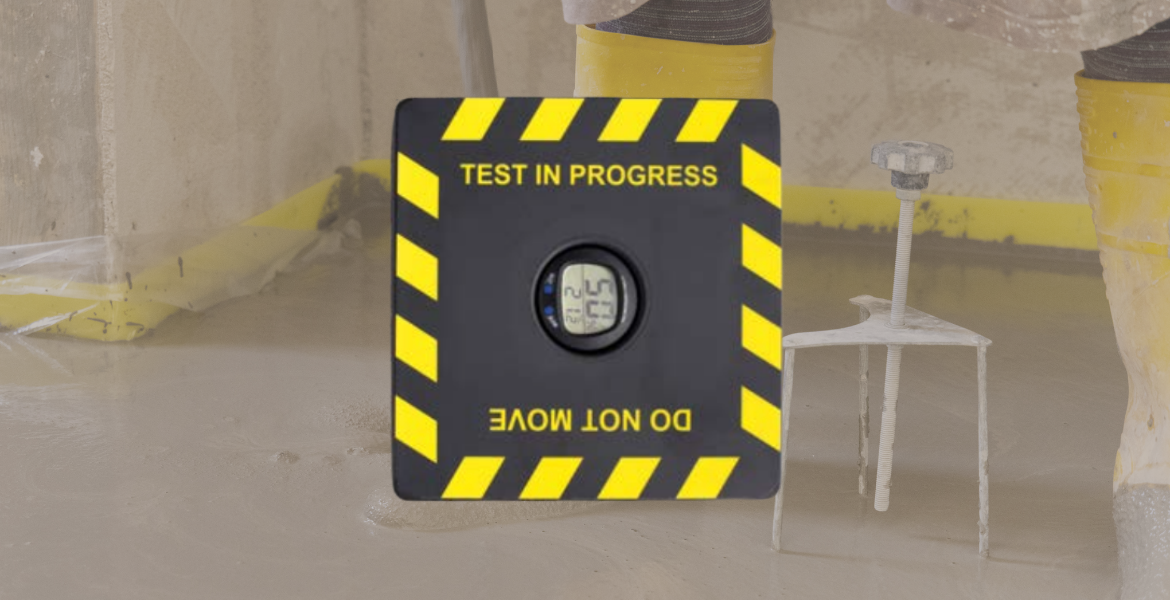
In the UK, the most commonly approved method of testing the dryness of the base prior to the installation of floorcoverings, is with the surface hygrometer box. Full details of the instrument and method of operation are given in BS 5325, BS 8203, BS 8201 and BS 8425.
Briefly, the hygrometer measures the equilibrium relative humidity of a pocket of air trapped above the slab/screed for the duration of the test using an insulated impermeable box, which can be sealed to the floor surface to create an enclosed pocket of air which is isolated from the humidity and fluctuations in temperature of the outside air. It is essential that this is sealed to the floor using a preformed butyl sealant tape and that readings can be taken while the apparatus is in position on the floor without breaking the seal and releasing the trapped pocket of air.
Other forms of apparatus might be suitable which conform to specifications in accordance with the British Standards referenced in this document.
A base is deemed to be dry when a figure of 75% RH or less is recorded in general, although a value of 65% may be required for overlaying of some timber products on UFH.
While the hygrometer, as recommended by BRE (Building Research Establishment), has been in use for many years, there are a number of factors that must be considered for it to be fully effective. The hygrometer must be calibrated (at 75%RH +/-3%), in accordance with manufacturers’ instructions and BS Guidelines, to ensure accuracy of any obtained reading. The method for calibration is included in Annex A of the British Standards.
The building must be fully watertight and should, ideally, have good ventilation and heating where appropriate to encourage drying of the base. It should be pointed out that if the prevailing conditions are cold and damp, with associated high ambient humidity, the base will only establish equilibrium with the environment and no further drying will occur.
If UFH or other artificial drying aids are present in the base, these should be switched off 96 hours prior to any hygrometer test being carried out.
The surface hygrometer should be installed over an area of the base found to be wettest when checked with an electrical impedance moisture meter, or considered likely to be the wettest i.e., those with poor ventilation, corners of rooms, etc., and out of direct sunlight to minimise temperature differential. The surface hygrometer should also be installed over a clean and prepared base, this will not only aid the adhesion of the hygrometer itself but could also lead to faster establishment of moisture vapour equilibrium.
The hygrometer must remain in position until full equilibrium has been established. This is generally considered to be 72 hours but could be longer over sections of 200mm or more, and considerably longer on power floated concrete.
For unbonded screed, where the DPM is placed between the base and screed, allow a period of no less than 4 hours before taking the first reading. Equilibrium may be assumed when 2 consecutive readings taken at 4 hour intervals show no change.
1. Ensure the hygrometer testing equipment to be used is calibrated to within the manufacturers, and BS guidelines. Uncalibrated or wrongly calibrated equipment could result in inaccurate results and possible failure of floor finishes. Therefore, the device should be checked for calibration regularly.
2. Determine if the conditions within the building envelope are suitable for testing. A high ambient RH may result in a falsely high moisture content being established. The building should be weather-tight and have good ventilation.
3. If UFH is present within the floor screed, it must be switched off prior to carrying out site testing to allow the screed to cool fully (BS 8203; BS 8201 and BS 5325 stipulate the minimum elapsed time is 96 hours) and be left switched off throughout the length of test. Moisture testing on warm screeds may not give an accurate reading.
4. The hygrometer should be placed in a position on the floor where the moisture levels have been established to be at their highest level as it is here that the floor is at most risk of failure. To establish this point it is recommended that a hand-held moisture meter is used to determine the aforementioned locations; it is likely the wettest areas will be those with poor ventilation or, in winter, those directly adjacent to doorways. Due consideration must be given when placing the device to areas that may be subject to high thermal gain as this can produce erroneous results.
5. The equipment must be placed onto a clean, contaminant free surface, it is important to note that an abraded surface will ensure a good bond for the hygrometer box, but also will allow a faster passage of moisture and therefore potentially faster attainment of equilibrium.
6. The equipment must be adhered to the surface with a suitable moisture-resistant adhesive or butyl tape. If this is not done, moisture can pass around the box and readings could be reduced. Silicone sealants, which can produce erroneous readings, should not be used.
7. Once the hygrometer has been placed, BS 8201; BS 8203 and BS 5325 state:
a) ‘For an unbonded screed, where the DPM 5 is placed between the base and screed as described in BS 8204-1 allow a period of not less than 4 hours before taking the first reading.
NOTE: Equilibrium may be assumed when two consecutive readings taken at 4 hour intervals show no change.’
b) ‘For very thick constructions, i.e., direct-finished base slabs or bonded screeds (where the DPM is placed below the base slab as described in BS 8204-1) allow a period of at least 72 hours to elapse before taking the first reading.
NOTE: Equilibrium may be assumed when two consecutive readings taken at 24 hour intervals show no change.’
c) ‘Constructions with thickness greater than 200mm can take considerably longer than one week before moisture equilibrium is established.’
8. The hygrometer box MUST be removed after the required time has elapsed as readings cannot be taken over an extended period in the same position. To repeat the test a new suitable position should be found.
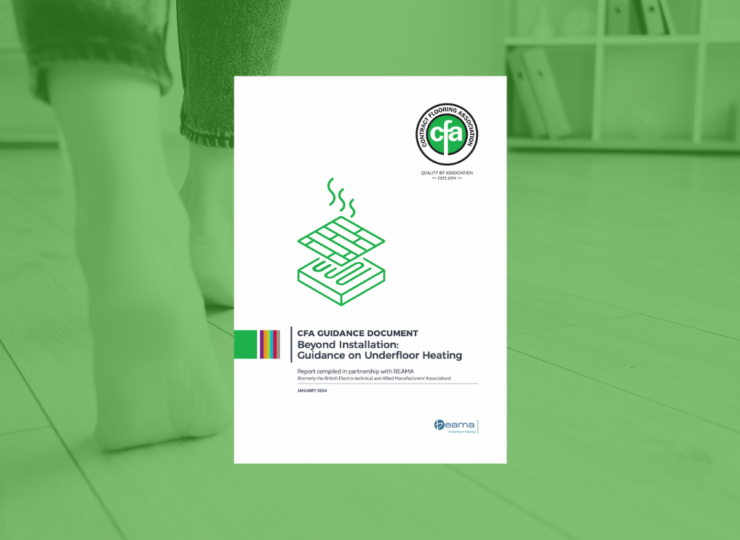
For more information, visit the free CFA Guide to Contract Flooring.


Floorscape aims to serve as a valuable resource for both
the contract flooring
industry and
associated parties including architects, designers, main
contractors, shopfitters, builders
and
clients and is fully supported by the Contract Flooring Association.